
 33
33
PURPOSE
This article describes how to setup your OneDrive.
INSTRUCTIONS
OneDrive Setup
1. Launch OneDrive by clicking the Start button and typing OneDrive or by clicking the cloud symbol in your system try (bottom-right hand corner by the clock).
There are two screens in OneDrive Setup that are helpful to watch for:
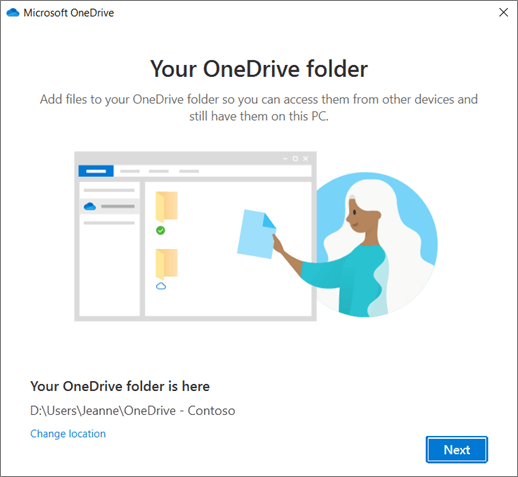
2. On the This is your OneDrive folder screen, select Next to accept the default folder location for your OneDrive files. If you want to change the folder location, select Change location - this is the best time to make this change.
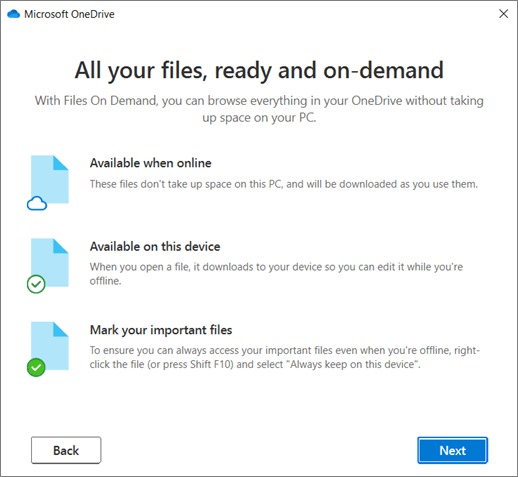
3. On the All your files, ready and on-demand screen, you'll see how files are marked to show them as online-only, locally available, or always available. Files On-Demand helps you access all your files in OneDrive without having to download all of them and use storage space on your Windows device. Select Next.
You're all set. Your OneDrive files will appear in File Explorer in the OneDrive folder. If you use more than one account, your personal files appear under OneDrive – Personal and your work or school files appear under OneDrive - CompanyName.
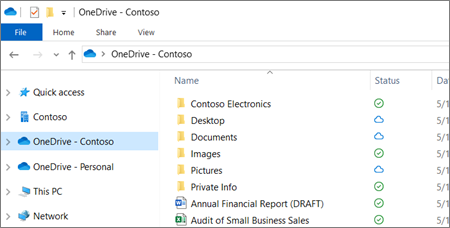
You now have a new white or blue cloud icon (or both) in your notification area and your files are synced to your computer. Your blue cloud icon will appear as OneDrive – [YourTenantName] when you hover over the icon.

Note: Contoso is an example name - yours will show the name of your organization.
Any time you want to change the folders you sync on your computer, right-click that cloud icon in the taskbar notification area, and select Settings > Account > Choose folders. Find other information about your account and change other OneDrive settings from here.


